Now we got our own place, I decided to build a nice looking kegerator, since we’ve been making beer for over 5 years now. I wanted to build a tower kegerator that came out of a proper bar counter, and have somewhere to mount my beer engine.
I had a very clear idea about what I wanted, the biggest issue was sourcing all of the components for a reasonable price. The hardest one was the fridge – I initially wanted a fridge that could fit 3 Corny kegs, like the one made by Kegstar ND-174. It doesn’t look great but it fits 3 kegs and is cheap if you get it directly from China. The shipping just makes it expensive to have though.
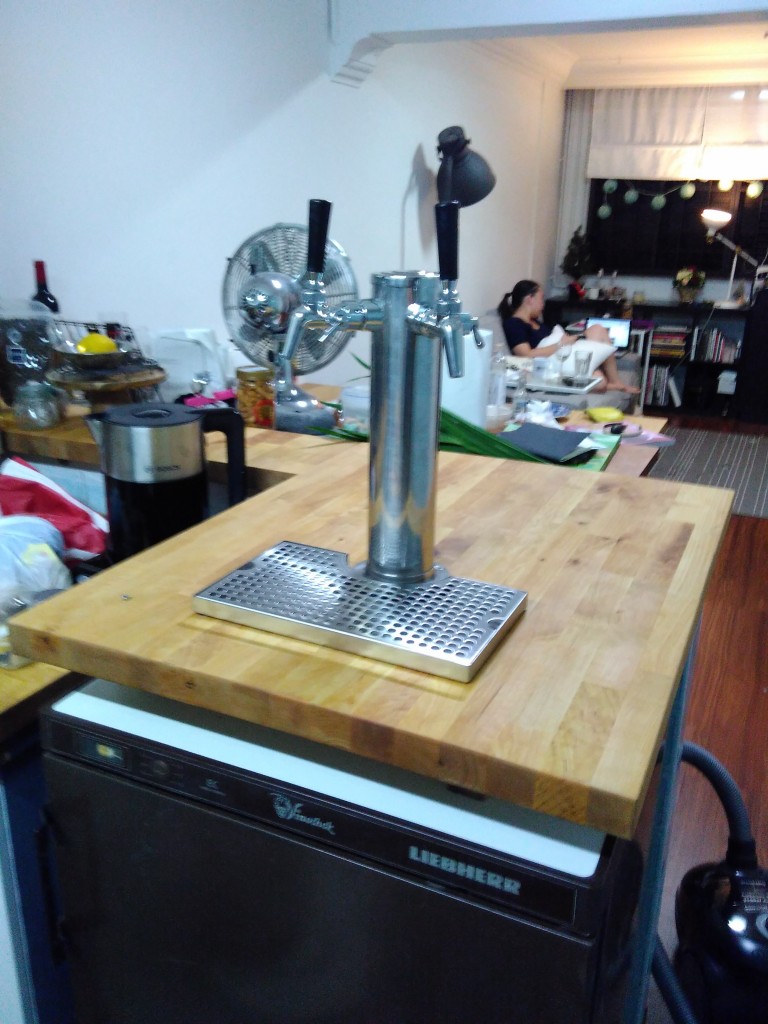
In the end, I settled for a second hand Liebherr wine chiller that I got of my friend, James. This fridge can only hold two 19L Corny but its reliable so should last a long time.
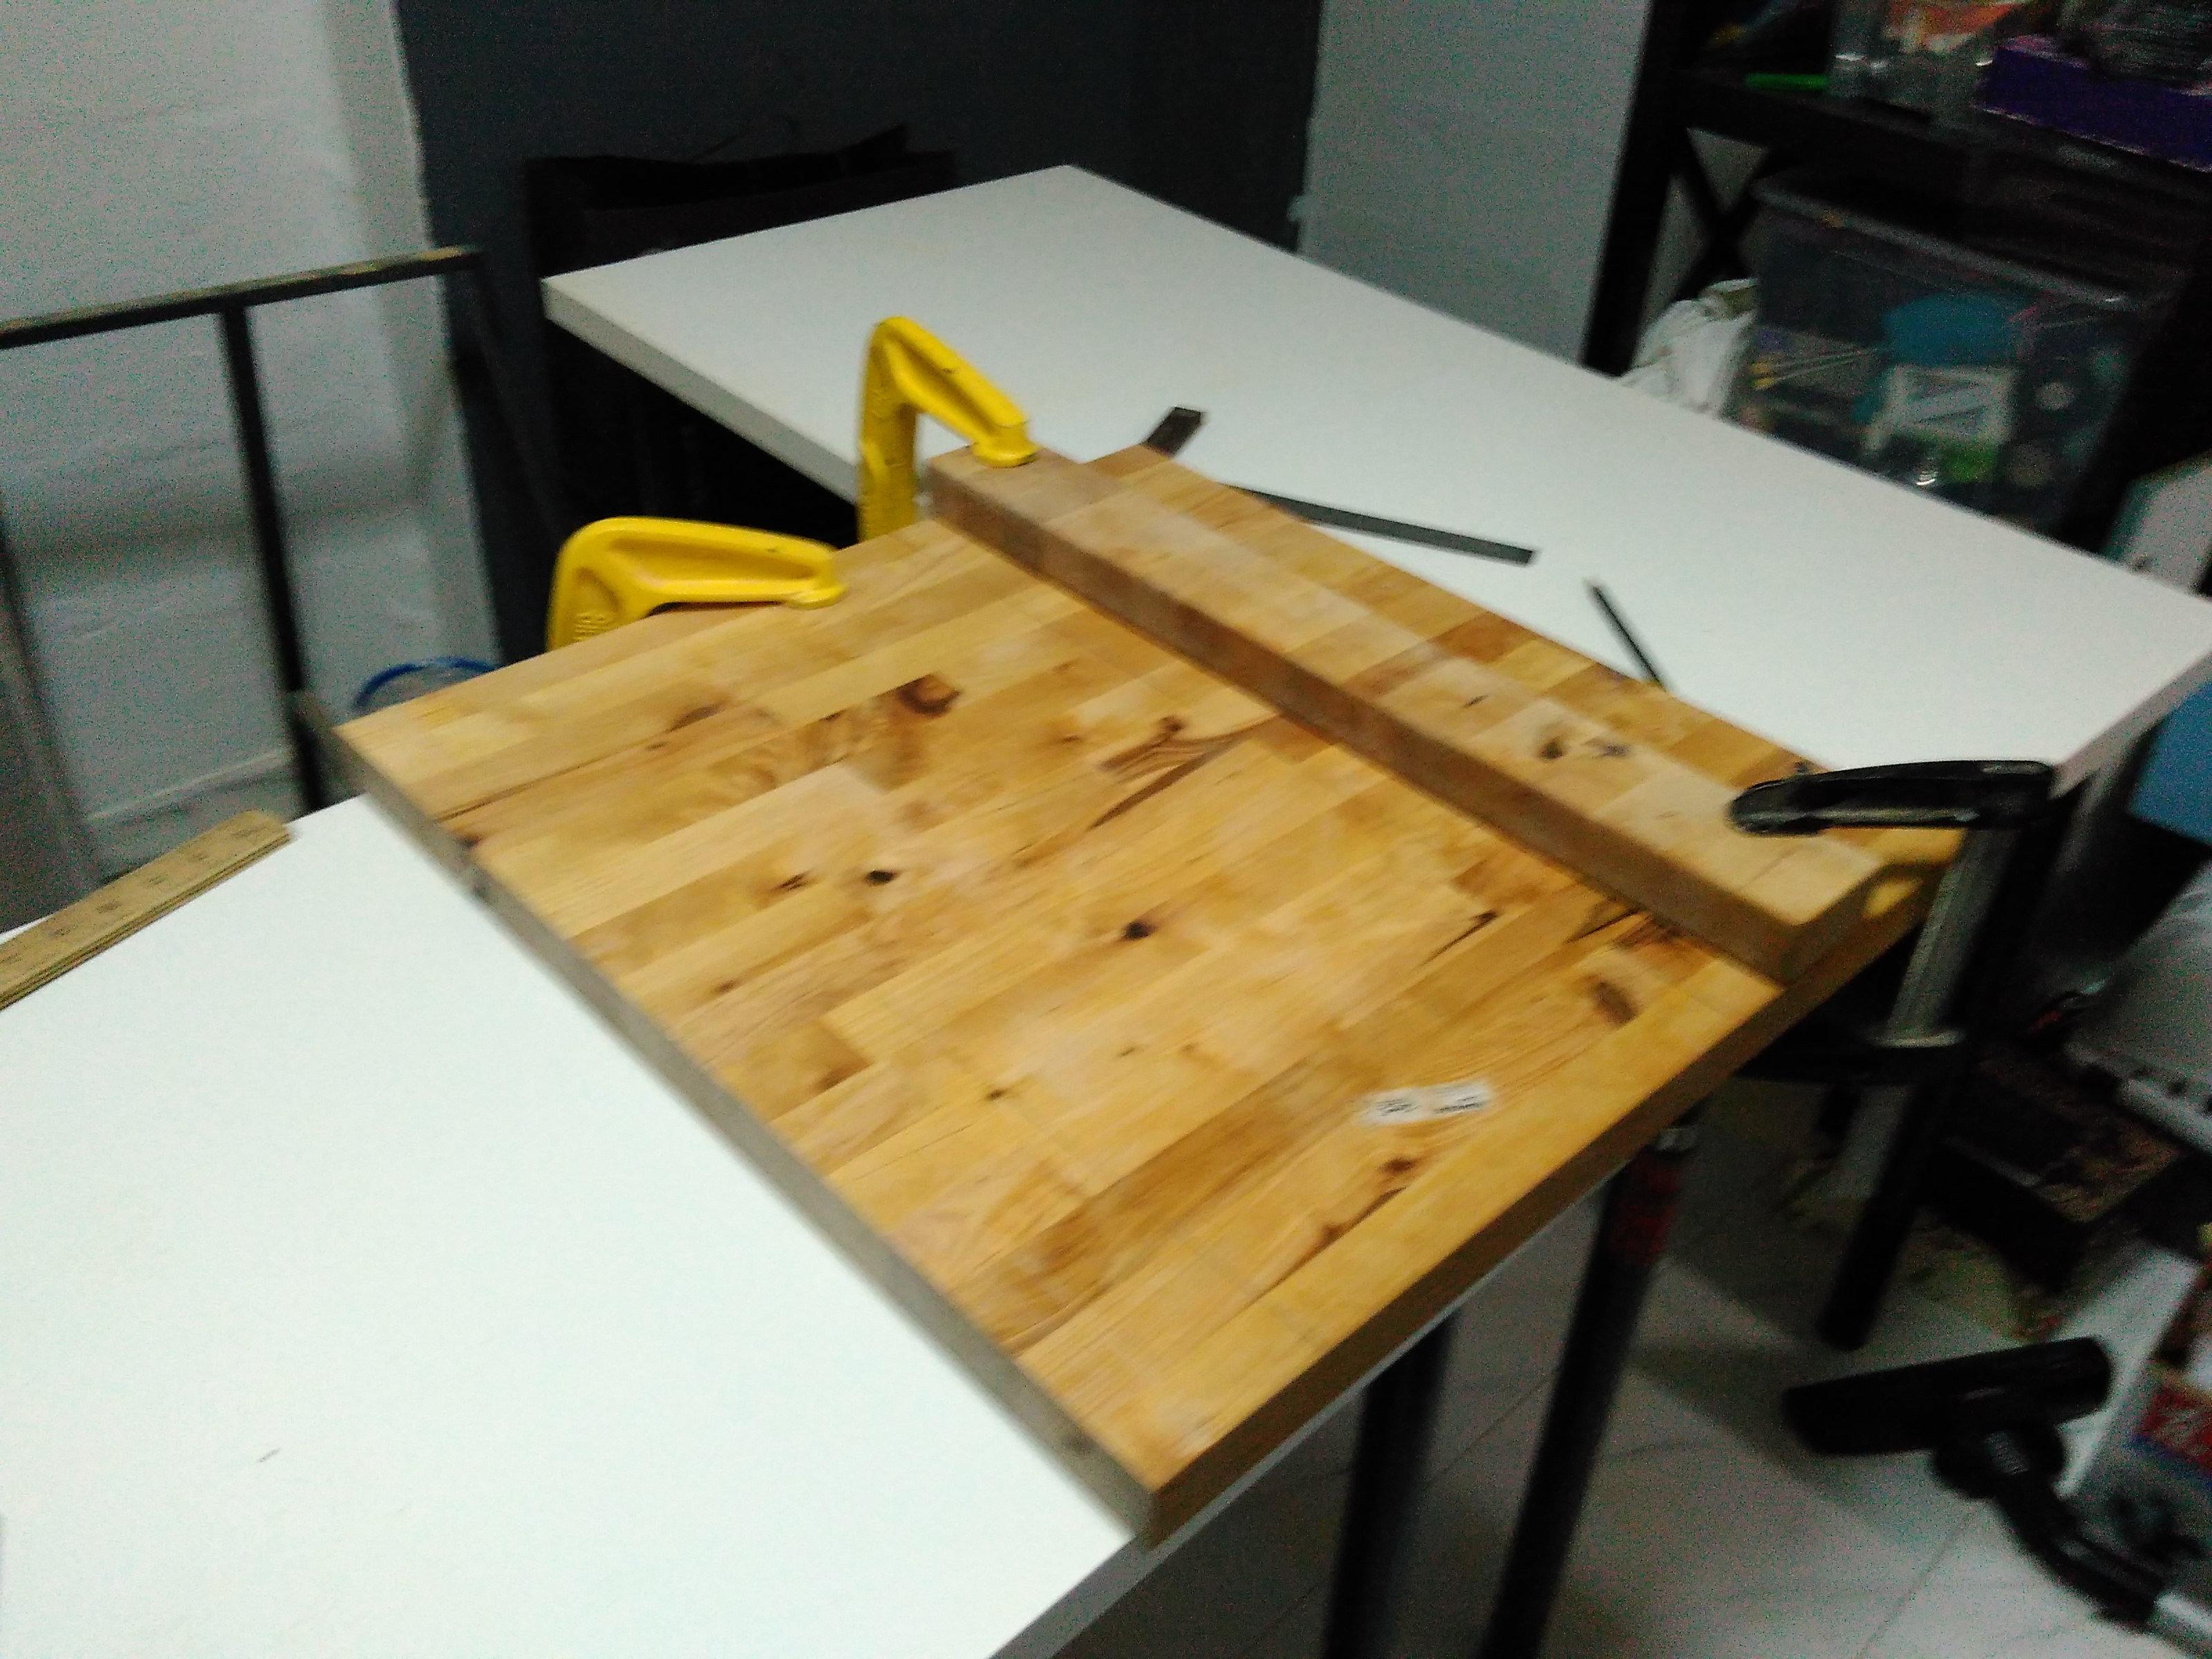
We modified our kitchen to have a half wall at bar height of 105cm. We just need some nice solid wood for the bar. We were really lucky when we found some beech wood work surfaces at reduced prices from Ikea, so we bought two big planks to make the bar and improve our kitchen counters.
I had to cut them down, and I did this with a cheap Chinese circular saw. Now I had the bar shape I want it was time to decide on taps and the tower. I got the tower and taps from Amazon, I decided to spare no expense and chose the most expensive Perlick taps, model 650ss for the tower. These are forward sealing flow control taps. I also bought an American made drip trap with a cut out around the tower to finish of the look. I thought it was important to use the American one as the Chinese drip trays are not aligned to the tap, so it spoils the look.

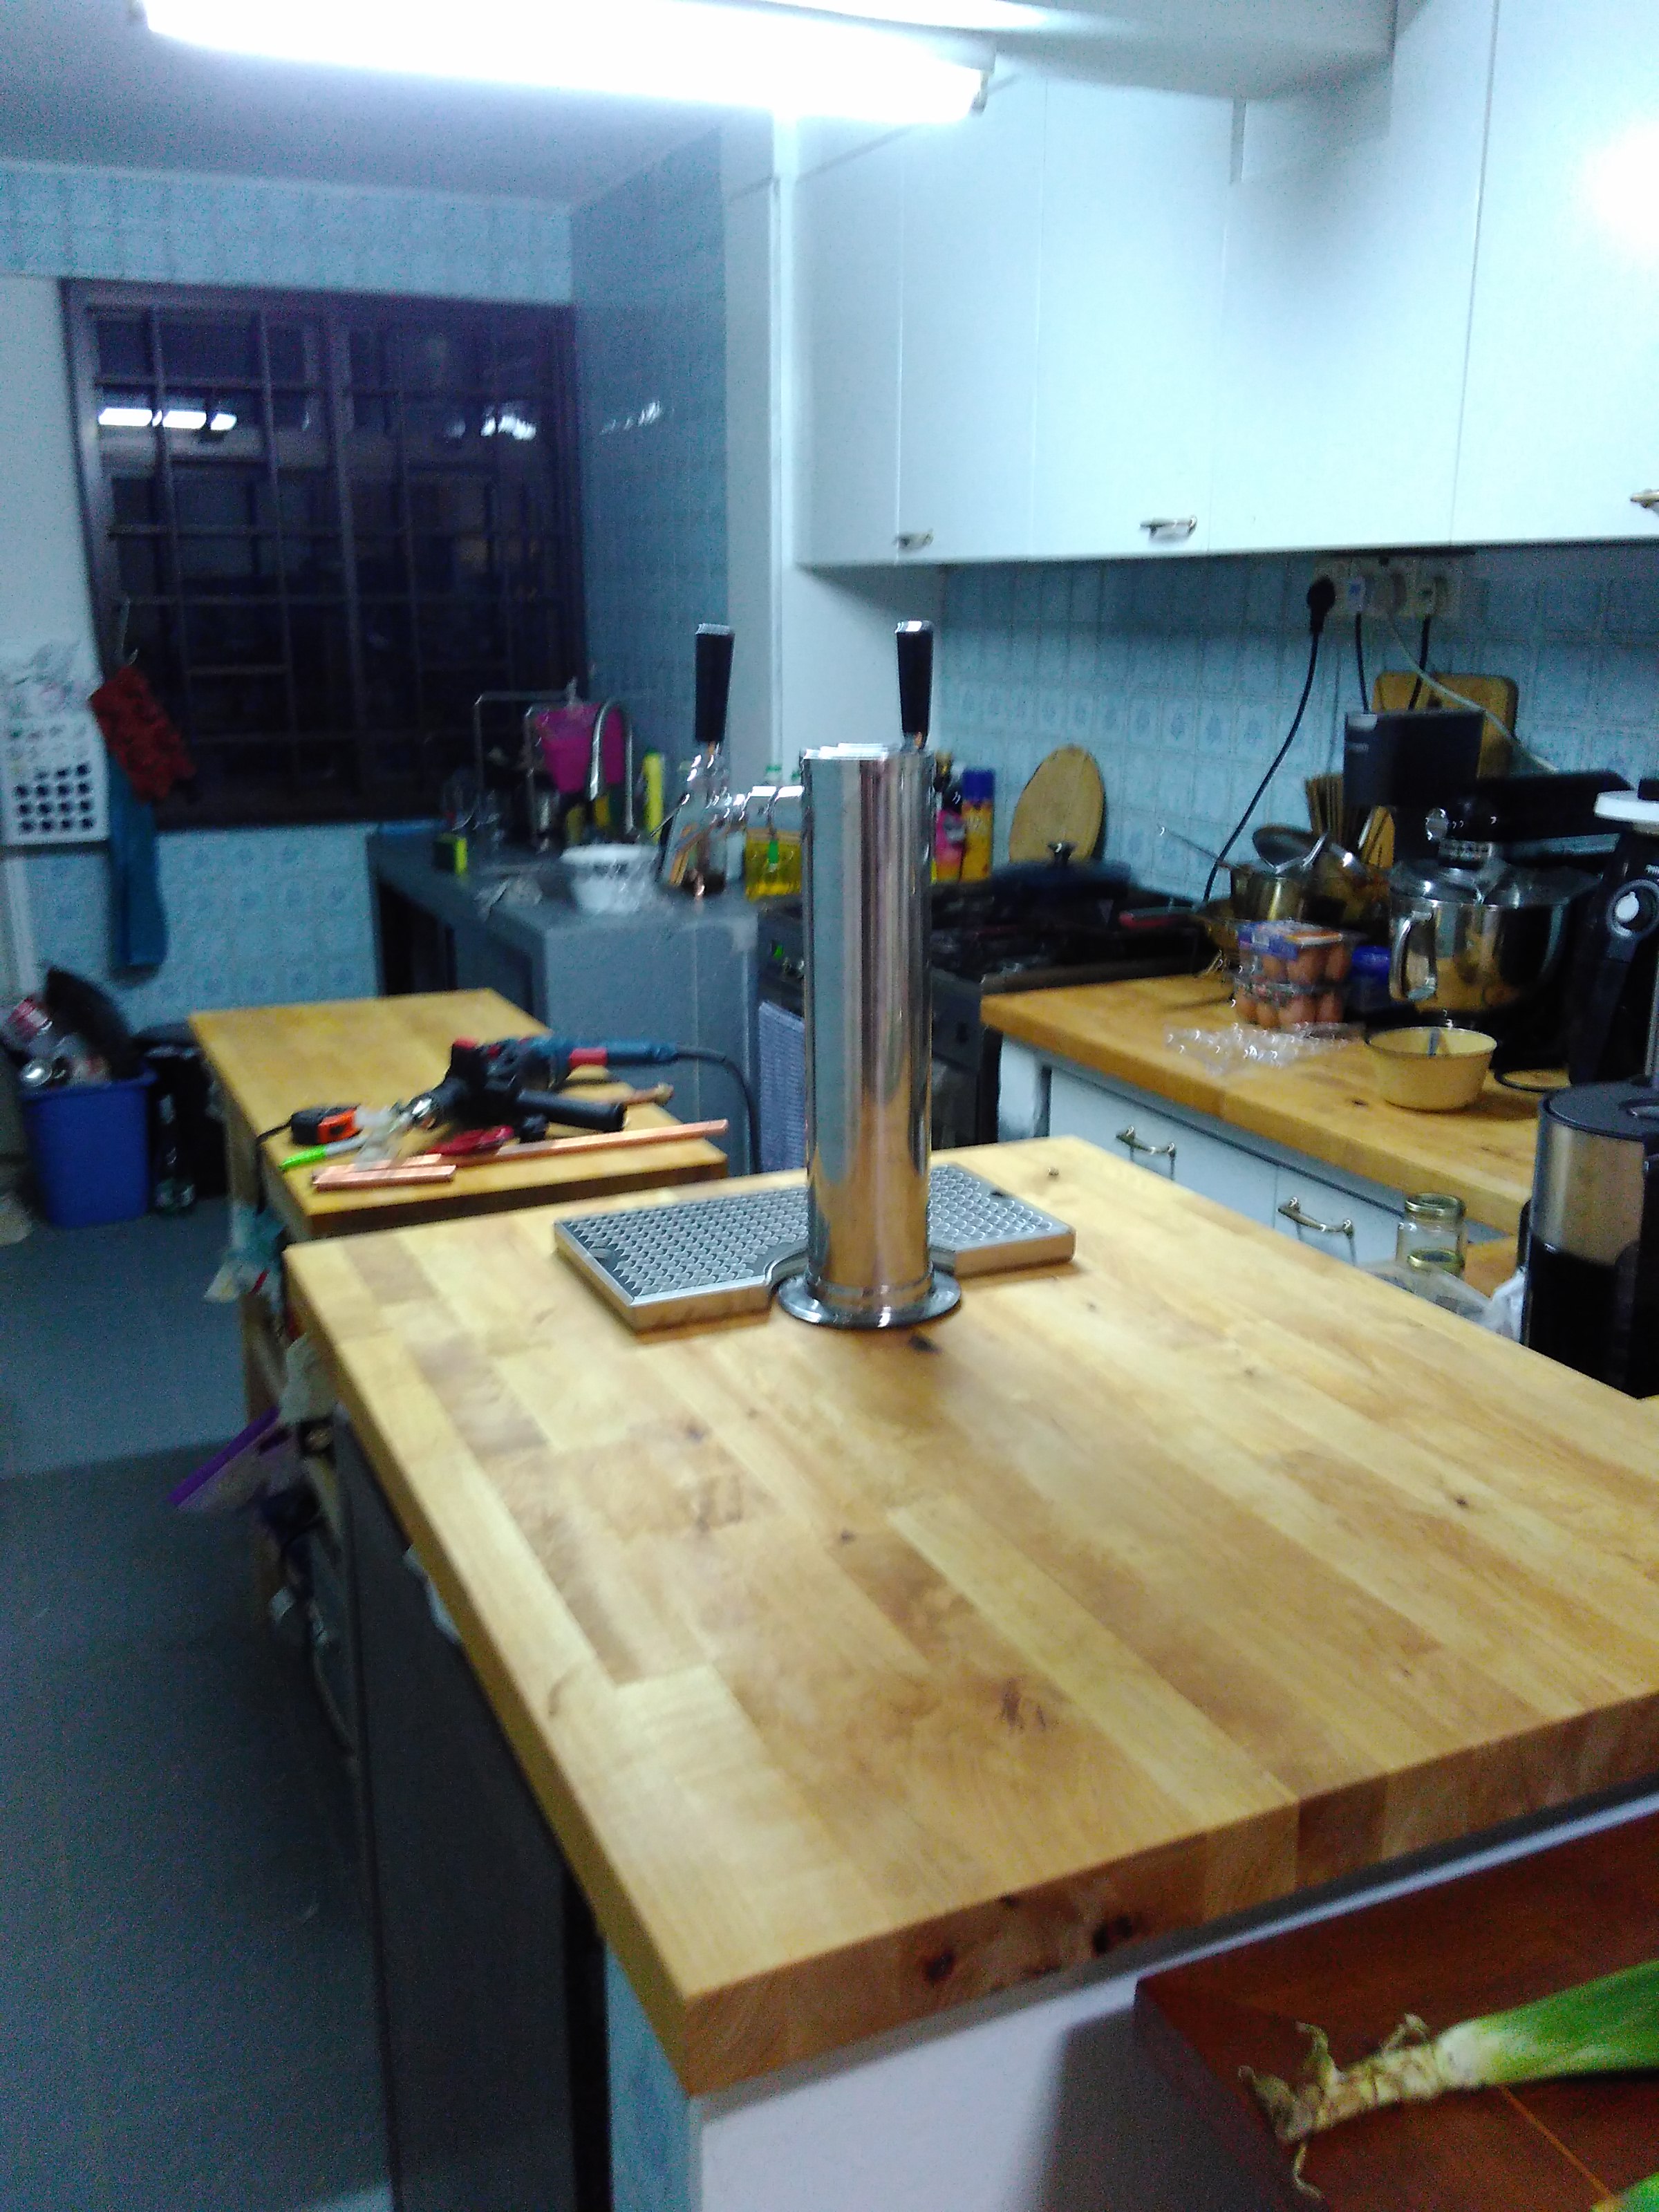
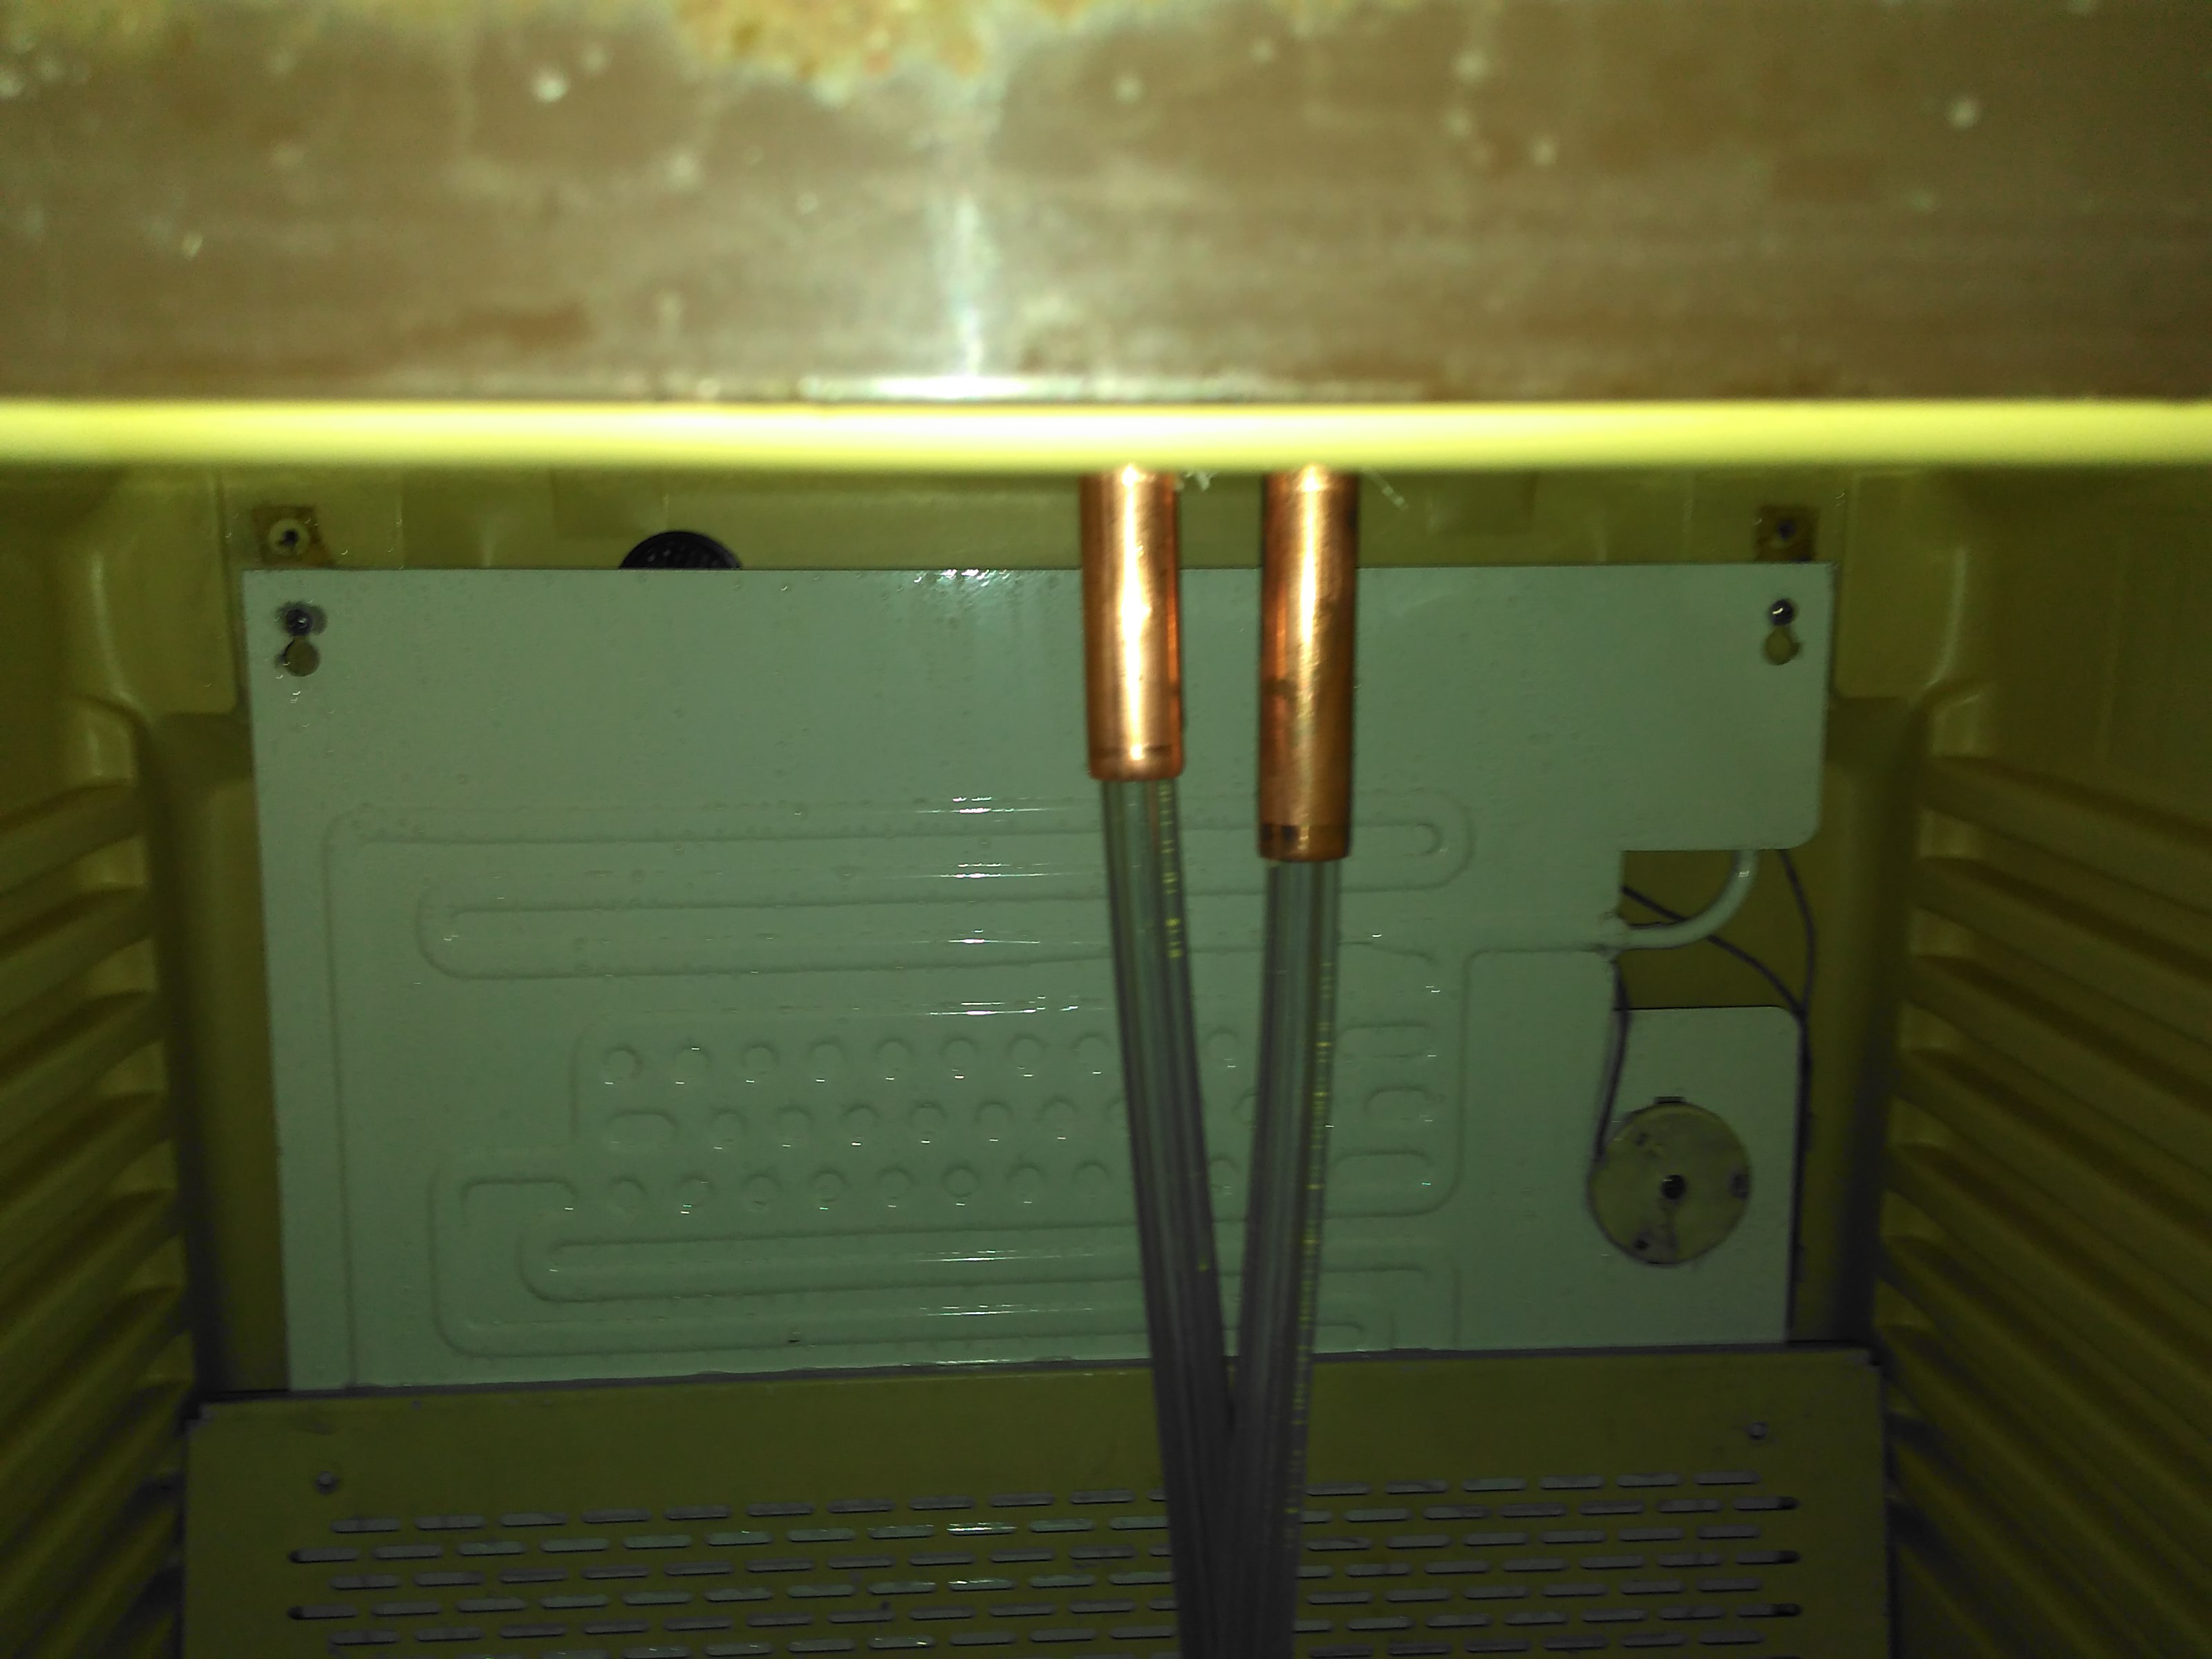
The build was relatively straight forward. I first measured where I wanted the tower in the centre of the bar. After this I drilled two 20mm holes in the bar for the beer lines. I then marked the fridge where the beer lines need to go and drilled them with a hole saw. I then drilled the 4 bolt mounting holes for the tower. Next I cut some 15mm copper pipe and fed it through the fridge up through the bar into the tower. I insulated these copper pipes with some aircon insulation tubing. The insulation is need to cut down on condensation on the copper pipe and ensure the copper stays cold. The idea of the copper pipes is to make sure the beer lines stay cold, which helps reduce foaming. I then oiled the bar top with linseed oil to give it a nice finish and to waterproof it from beer spillages damaging the wood. Finally I bought some chromed beer label holders from aliexpress and made some mounting brackets at work.
I am very pleased with the final result and the flow control taps are definitely worth the investment. I am not sure the copper pipe does anything as it doesn’t get very cold, but if anything, it makes removing the beer lines from the fridge very easy.