Equipment
In this section we cover the equipment we use for all grain brewing. Due to Nick’s and our housemate Markus’ background a lot of this stuff is electronics and programing stitched together that all adds to the fun of brewing.
Note: The explanations covered here is very steeped in electronics jargon as Nick’s typing this up for our Geek Camp audience. We’re working on a more simplified version for our regular readers. Please bear with us! :)
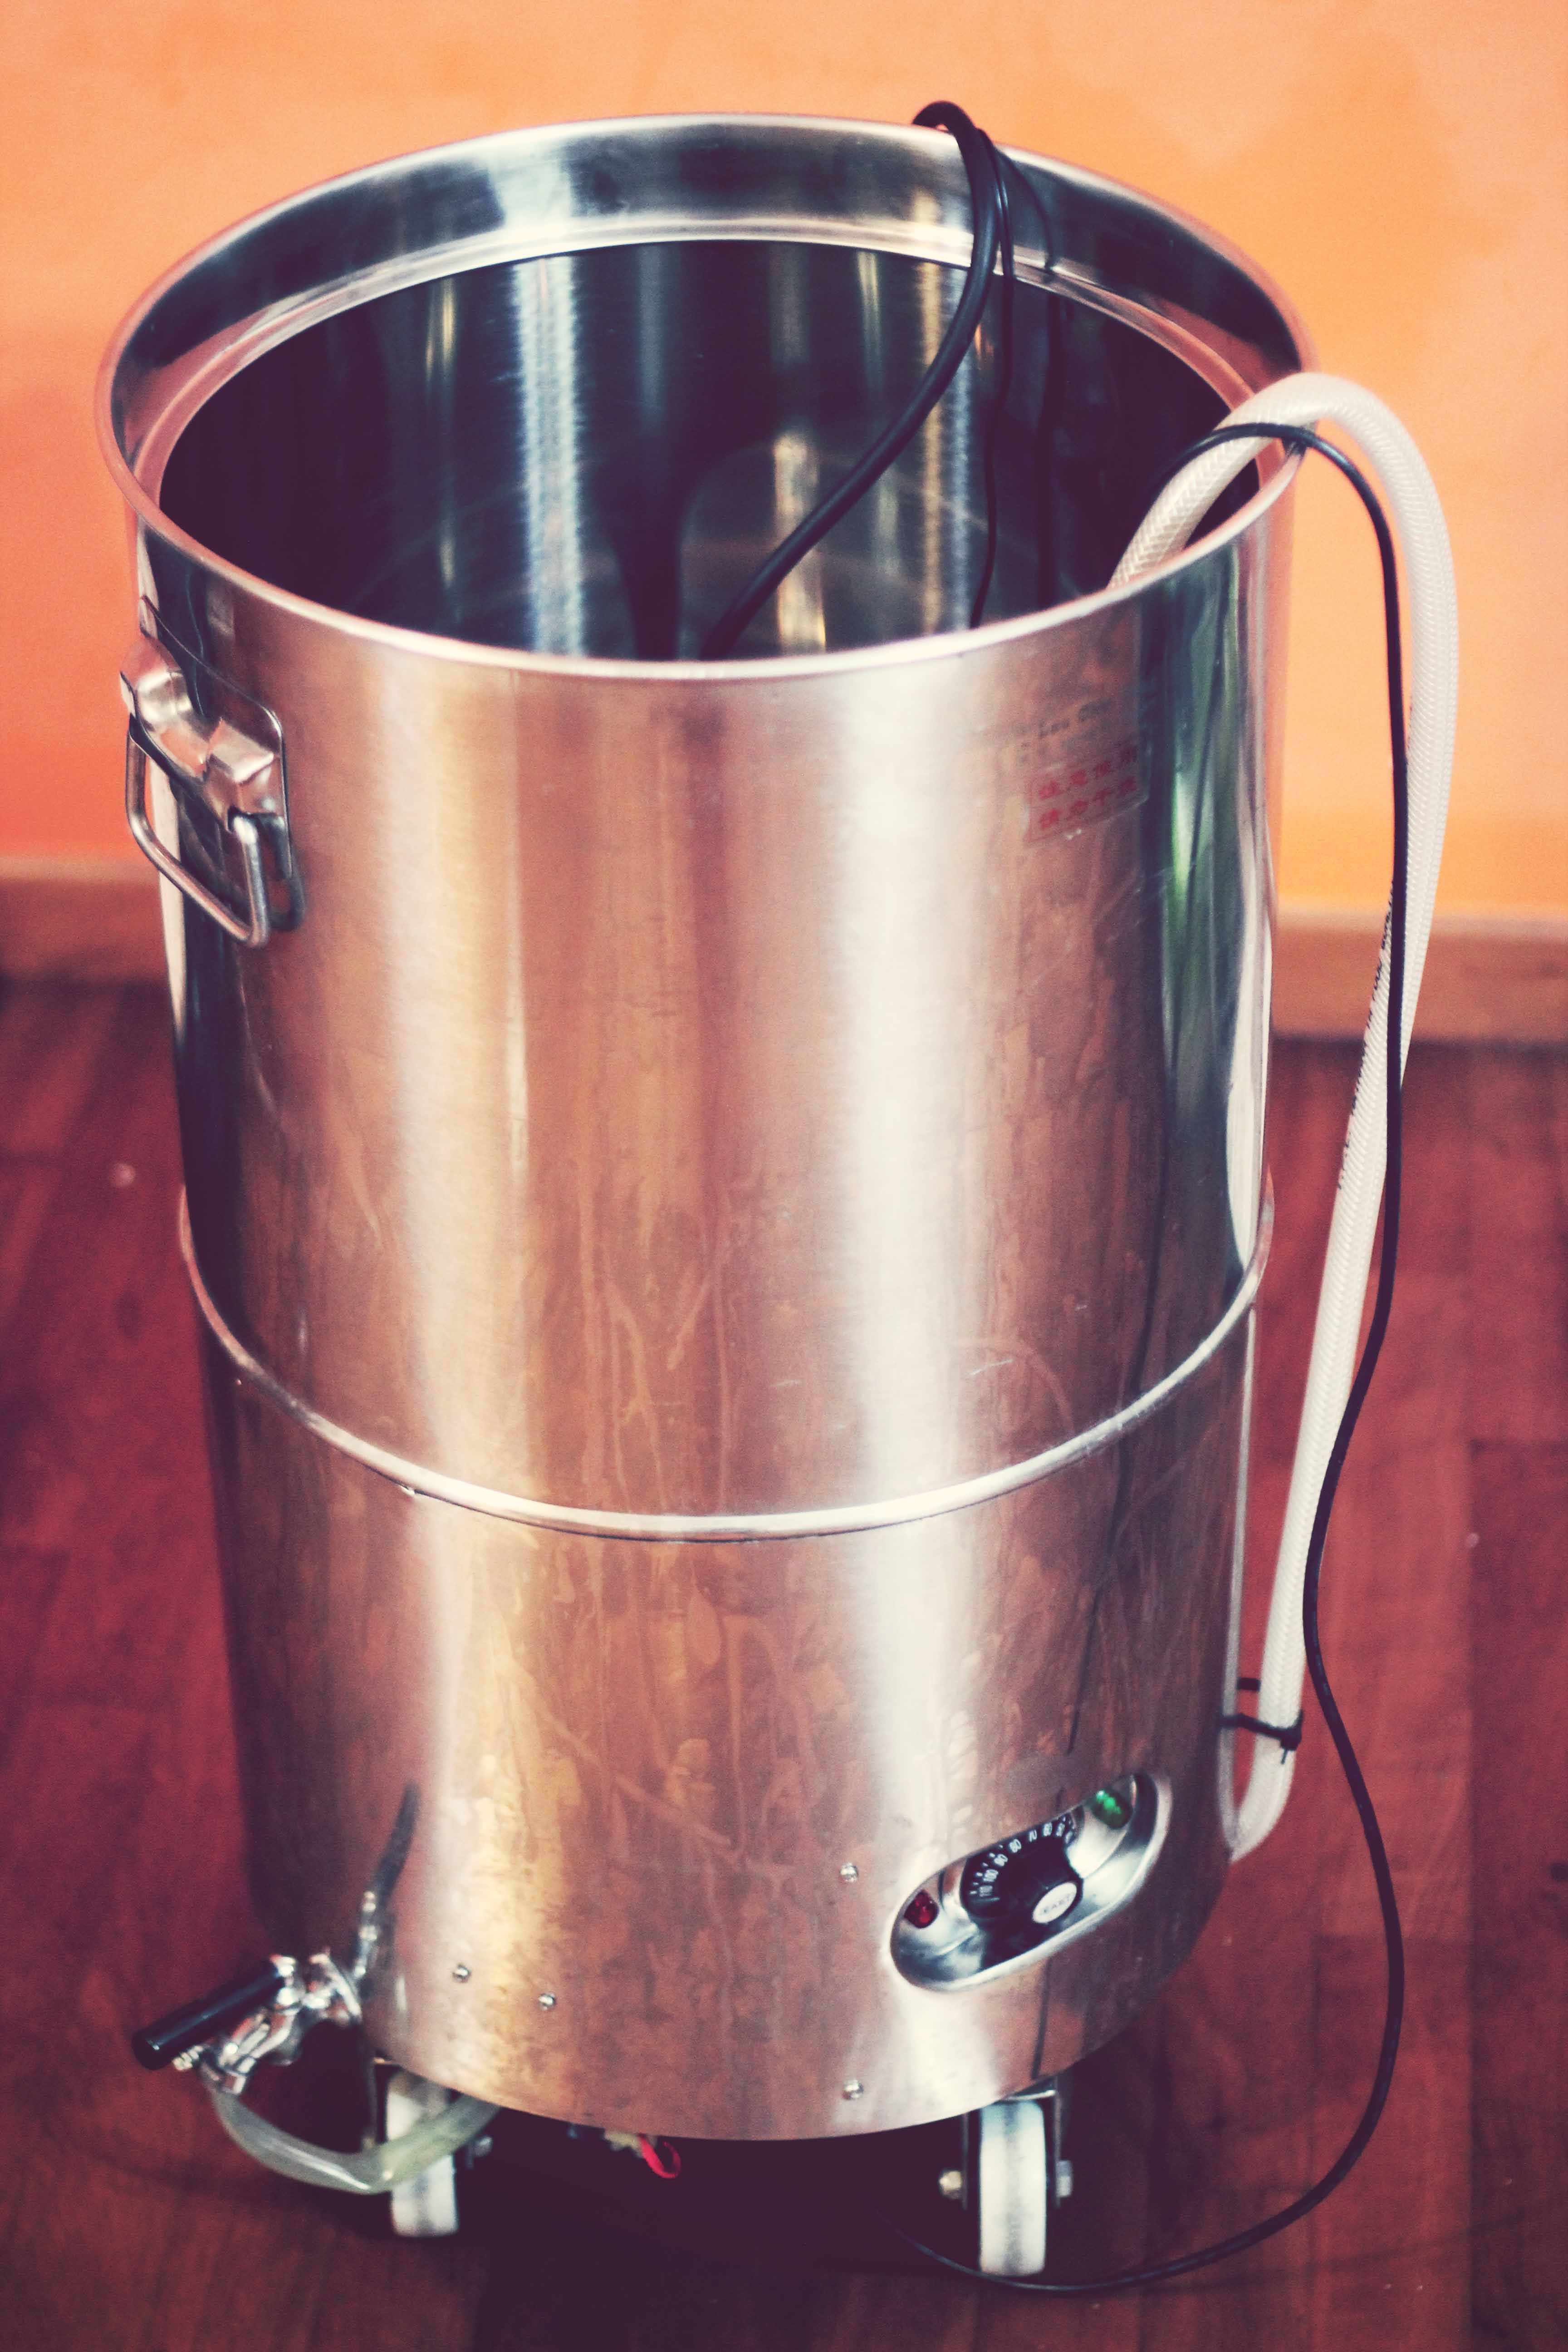
Mash tun
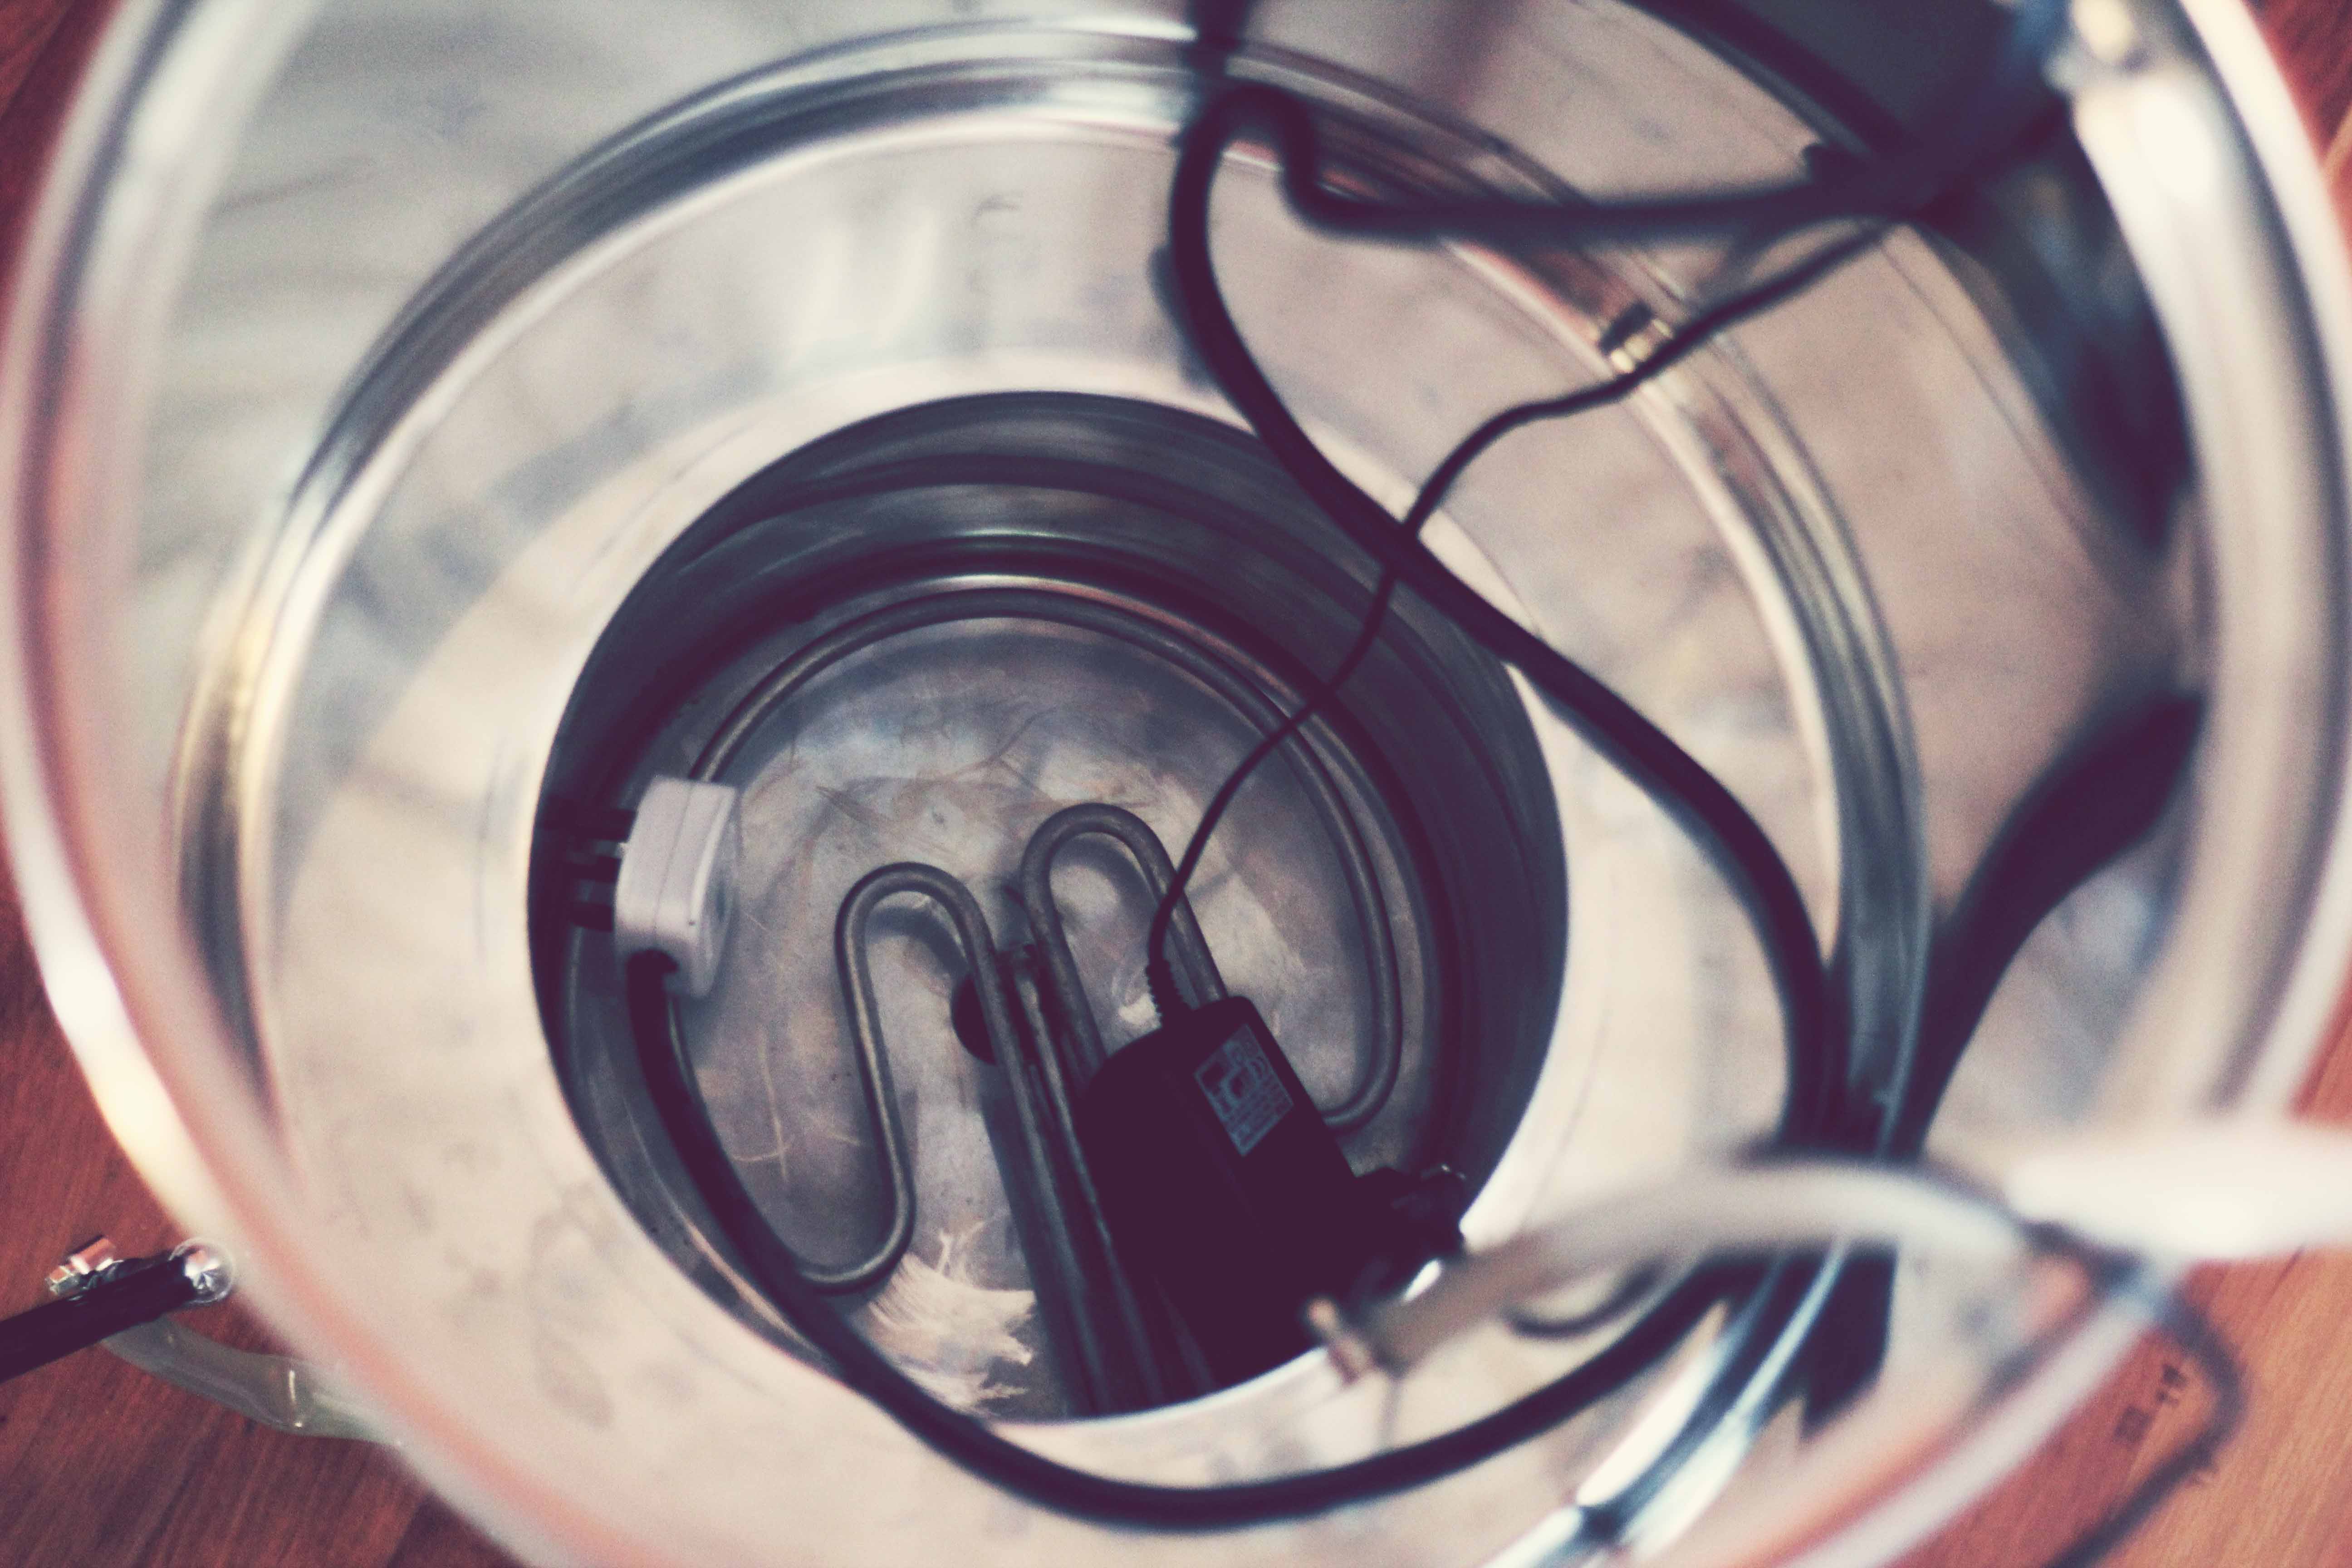
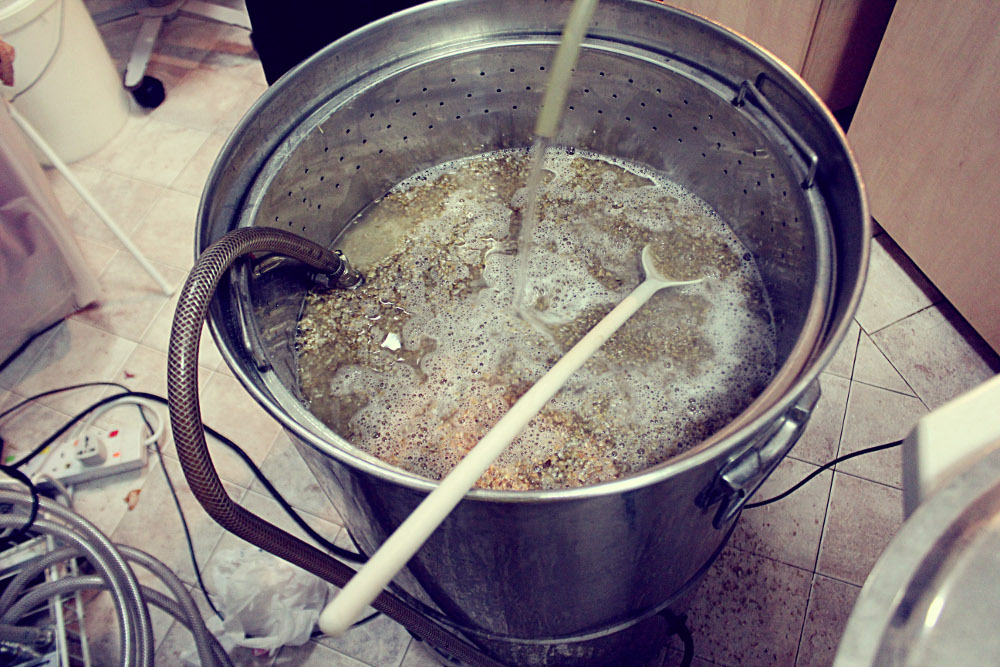
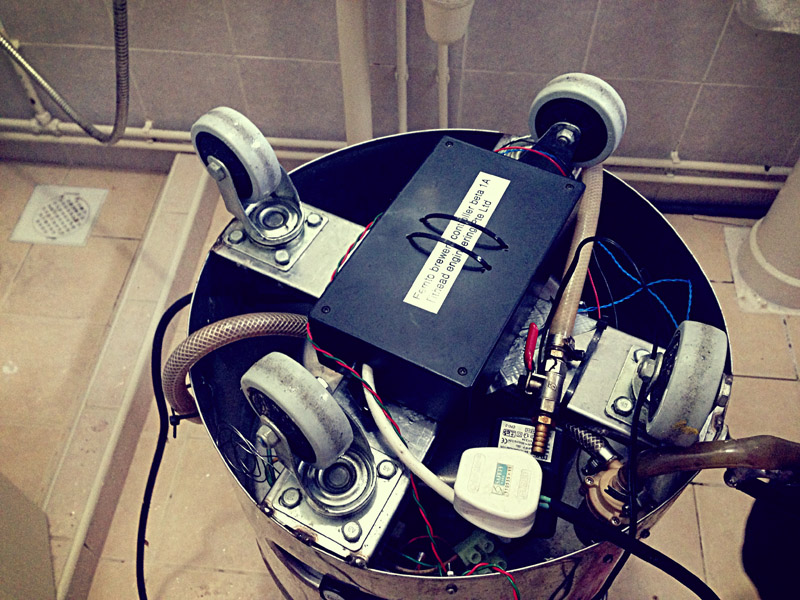
Our mash tun is a RIMS (Recirculating mash system system) that is digitally controlled to ensure mash temperatures can be hit to within a degree. We achieve accurate temperature control by implementing a feedback loop on the temperature measurement. The feedback amount is governed by a PID controller, which actuates a bang bang control on an electric heater. All the set points for the controller can be adjusted through a web browser that relies on a back end put together in Python and jQuery.
Going into more detail, we use a Raspberry Pi to run a Python script, which host a web server and runs a PID controller. The temperature measurement is a simple potential divider with a thermistor to provide a voltage signal that is read in by the ADC of an Arduino. The Arduino uses a look up table to convert the voltage signal measured in a temperature that is sent via USB to the Raspberry Pi. The Raspberry processes the difference between the temperature set point and the measured temperature. Then the PID converts this change into a percentage of a duty cycle. The duty cycle window is 10 seconds long. The Raspberry sends a command back to the Arduino to turn the heater on and off. The Arduino then controls a mechanical relay through its digital output ports, which switchers the power on and off to the 1.7kW electric water heater. The Raspberry also logs and sets the temperature to a web browser it hosts. The Raspberry is connected to our LAN by a wireless adapter. The web browser allows us to set the PID controller parameters and set the temperature set point and duty cycle. The code for the Arduino was developed by Markus, our resident technologist and the Raspberry code was developed by a guy named Steve and can be found here so big thanks to him.
We added an extra button to the web browser control so that the water pump could be turned on and off. The water pump runs off a 15V and is actuated by the relay in the same way as the water heater. The water pump’s main use is to recirculate the mash to ensure the mash is the same temperature throughout. The recirculating also helps to filter the wort by moving the wort through the grain bed. The water pump is also used to pump the wort around into the boil kettle and through the wort plate chiller.
Fridge temperature controller
For fermenting beer in an equatorial climate a fridge is required as beer ferments best between 24-7C, unless you enjoy a funky Saison, which is perfect for our climate. To achieve this kind of temperature you could run your aircon all the time at 18C but this would be unwise as your electricity bill would more than double the cost of your homebrew. To keep beer fermenting at the ideal temperature there are a few options, one is to build a cool box out of polystyrene keep your fermenter in there with a few bottles of ice. This works fine for around the 15C mark but can be trouble some as you have to change the ice twice a day and if you forget your beer will soon become warm. The next option is to by a wine cooler as this can be controlled between 10-20C so are ideal for fermenting beer but they are very costly. The option we use is to temperature control a chest freezer. The chest freezer was picked up from gumtree for about $100.
We then made a bang bang temperature controller to turn the freezer on and off when it was too hot or cold. The bang bang controller is a stand alone unit that runs on an Arduino. This time it does not have PID controller as this part is not necessary as the time constants are very long. Instead it just turns the fridge on when it is a degree to warm and turns it off when it is a degree too cold. This way the fermentation stays within in a degree of target temperature, which is fine for any brew. As we use a microcontroller it is intelligent so if the fridge has just been on it can not come on again for 15 mins this stop compressor damage, which is very common when using an analogue temperature controller.
The Arduino turns on and off of a relay, which switches on and off the mains power to the freezer. The Arduino communicates with a simple LCD screen to indicate current temperature and set point, it also displays what the current state is of the fridge. There are three push buttons on the front panel, one resets the electronics, the other two increase/decrease the temperature set point.
Wort plate chiller
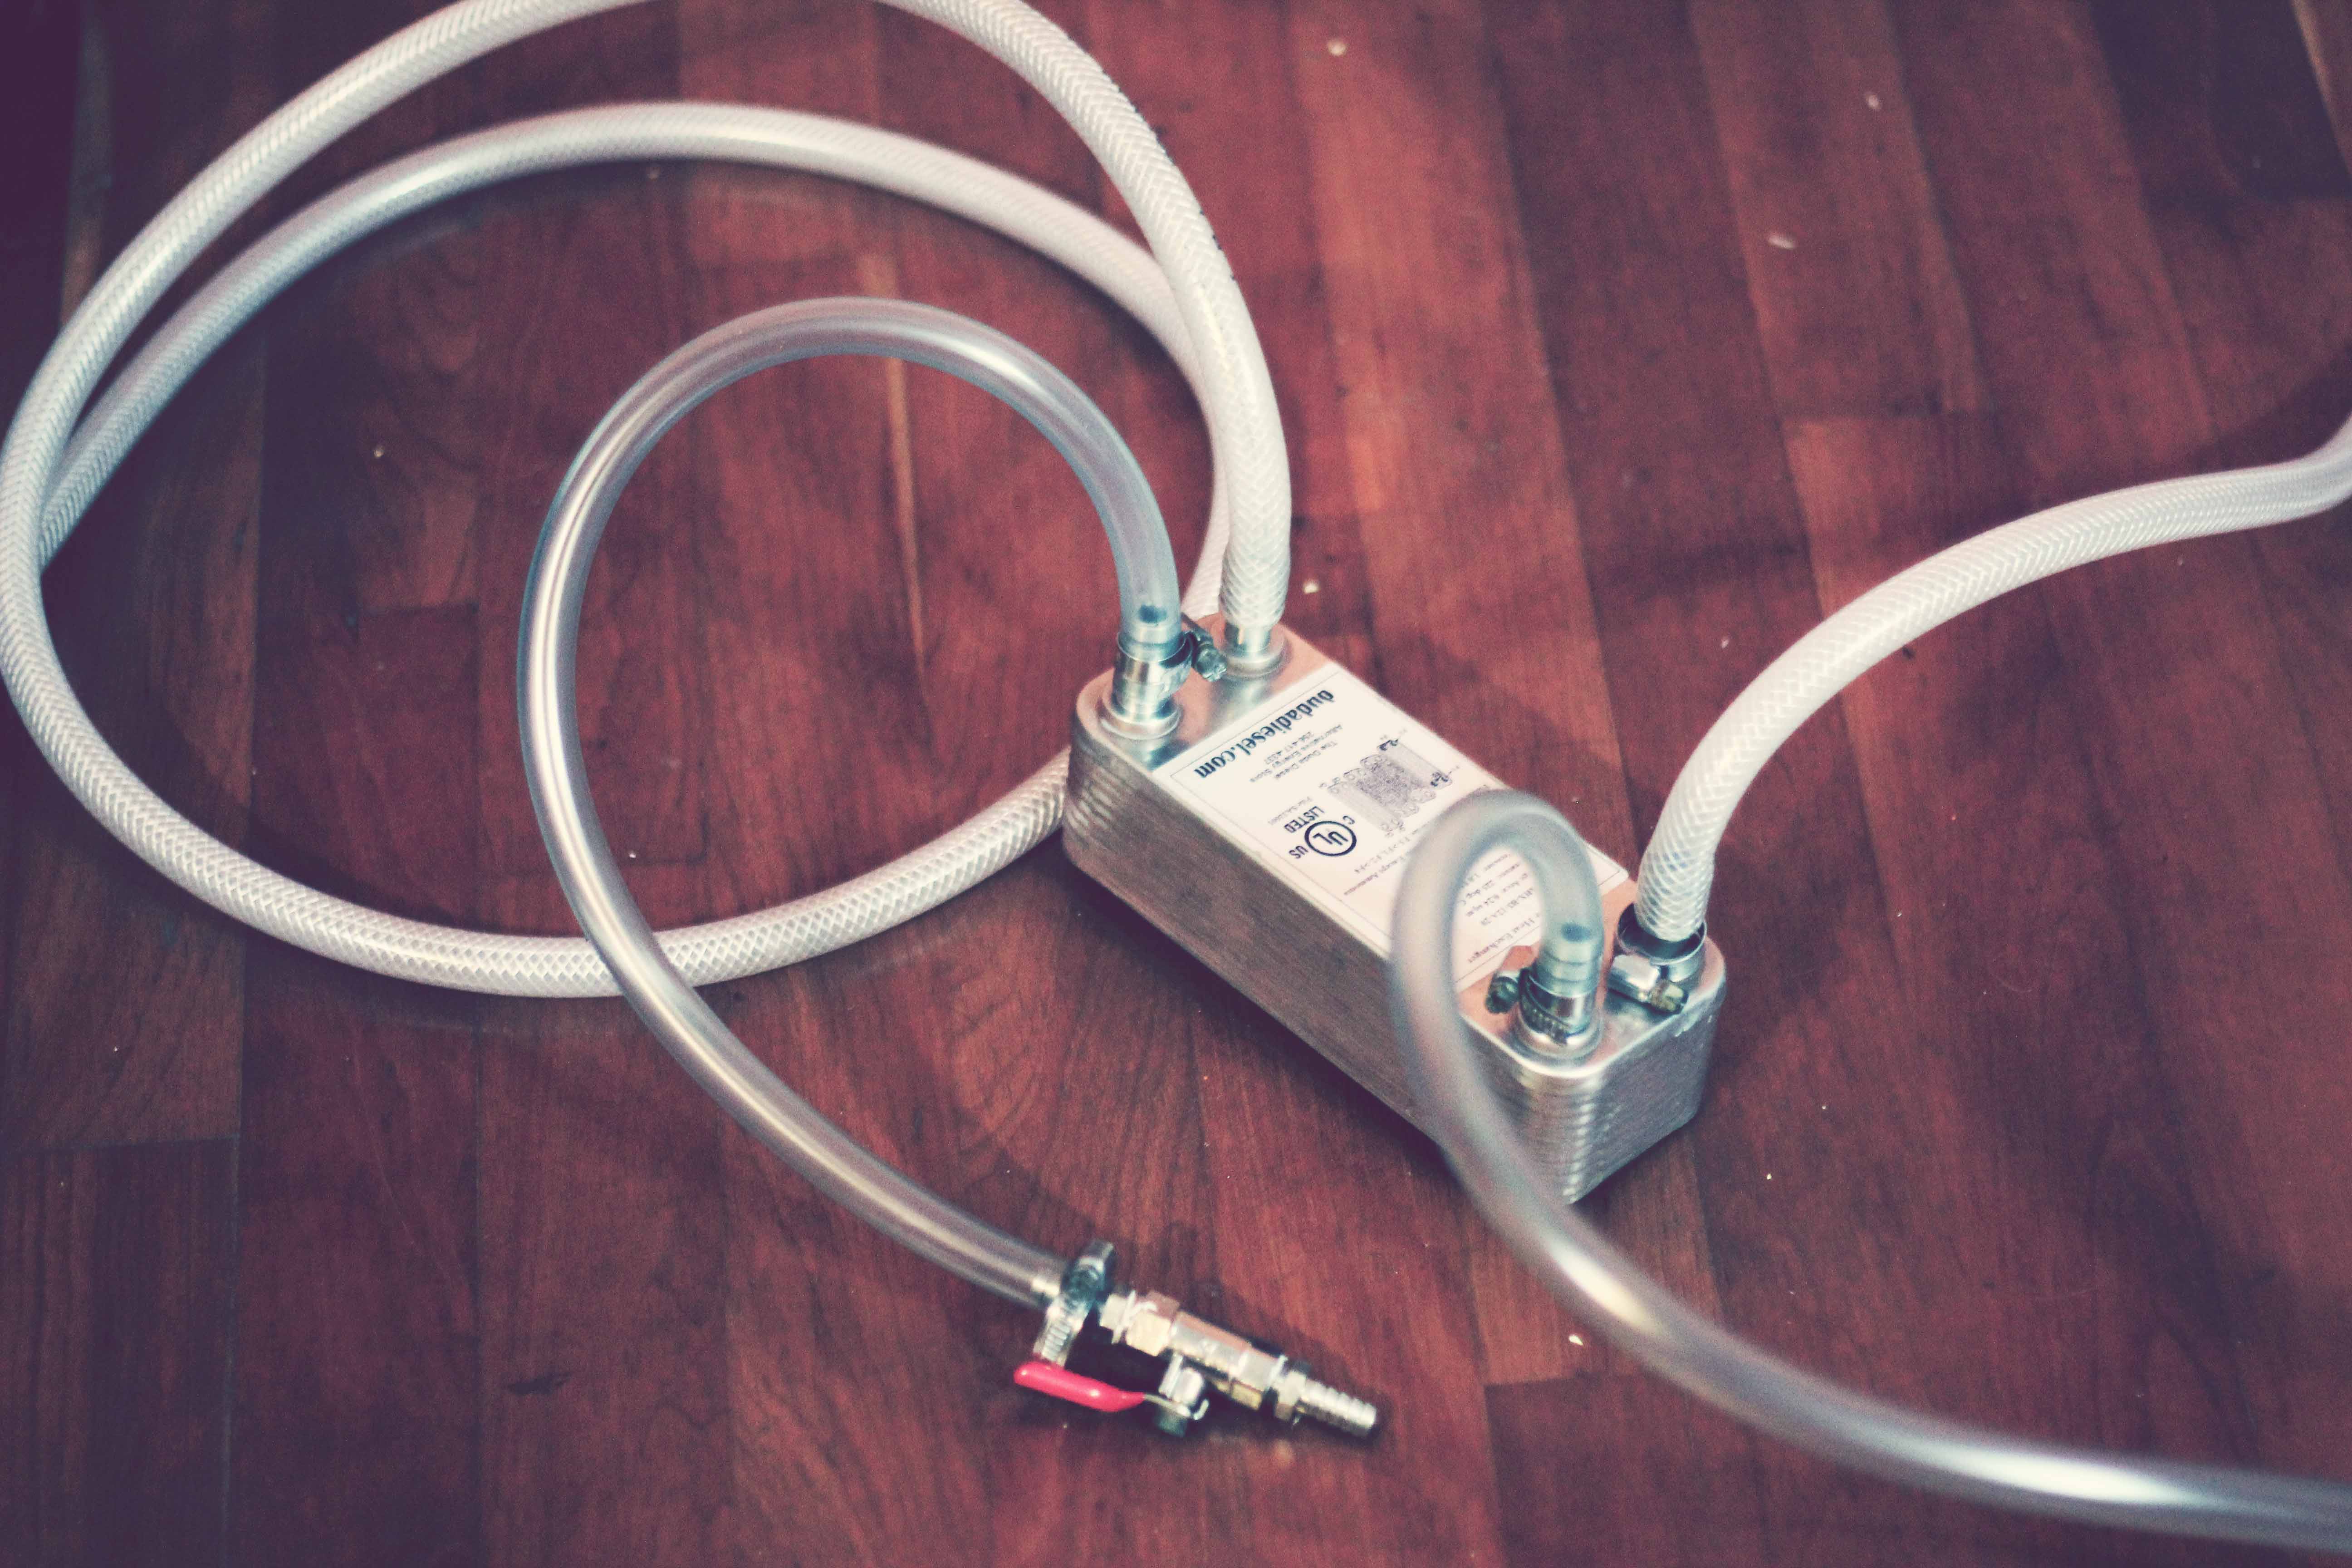
The wort plate chiller is basically a heat exchanger to we use to cool our boiling wort down to less than 25°C in 20 minutes. The importance of this is to cool the wort quickly so yeast can be pitched and start fermenting before any bacteria can get in their causing infection. The wort plate chiller works by flowing cold water through one side of it and hot wort through the other. The cold water comes from a sink filled with water and ice. A water pumped submerged in the sink is used to pump the cold water through the water plate chiller. A wort pump connected to our mash tun pumps the wort through the wort plate chiller. We have a 20 plate device and it is impressive, at one end the hot wort makes the device too hot to touch and a the other end it comes out icey cold.
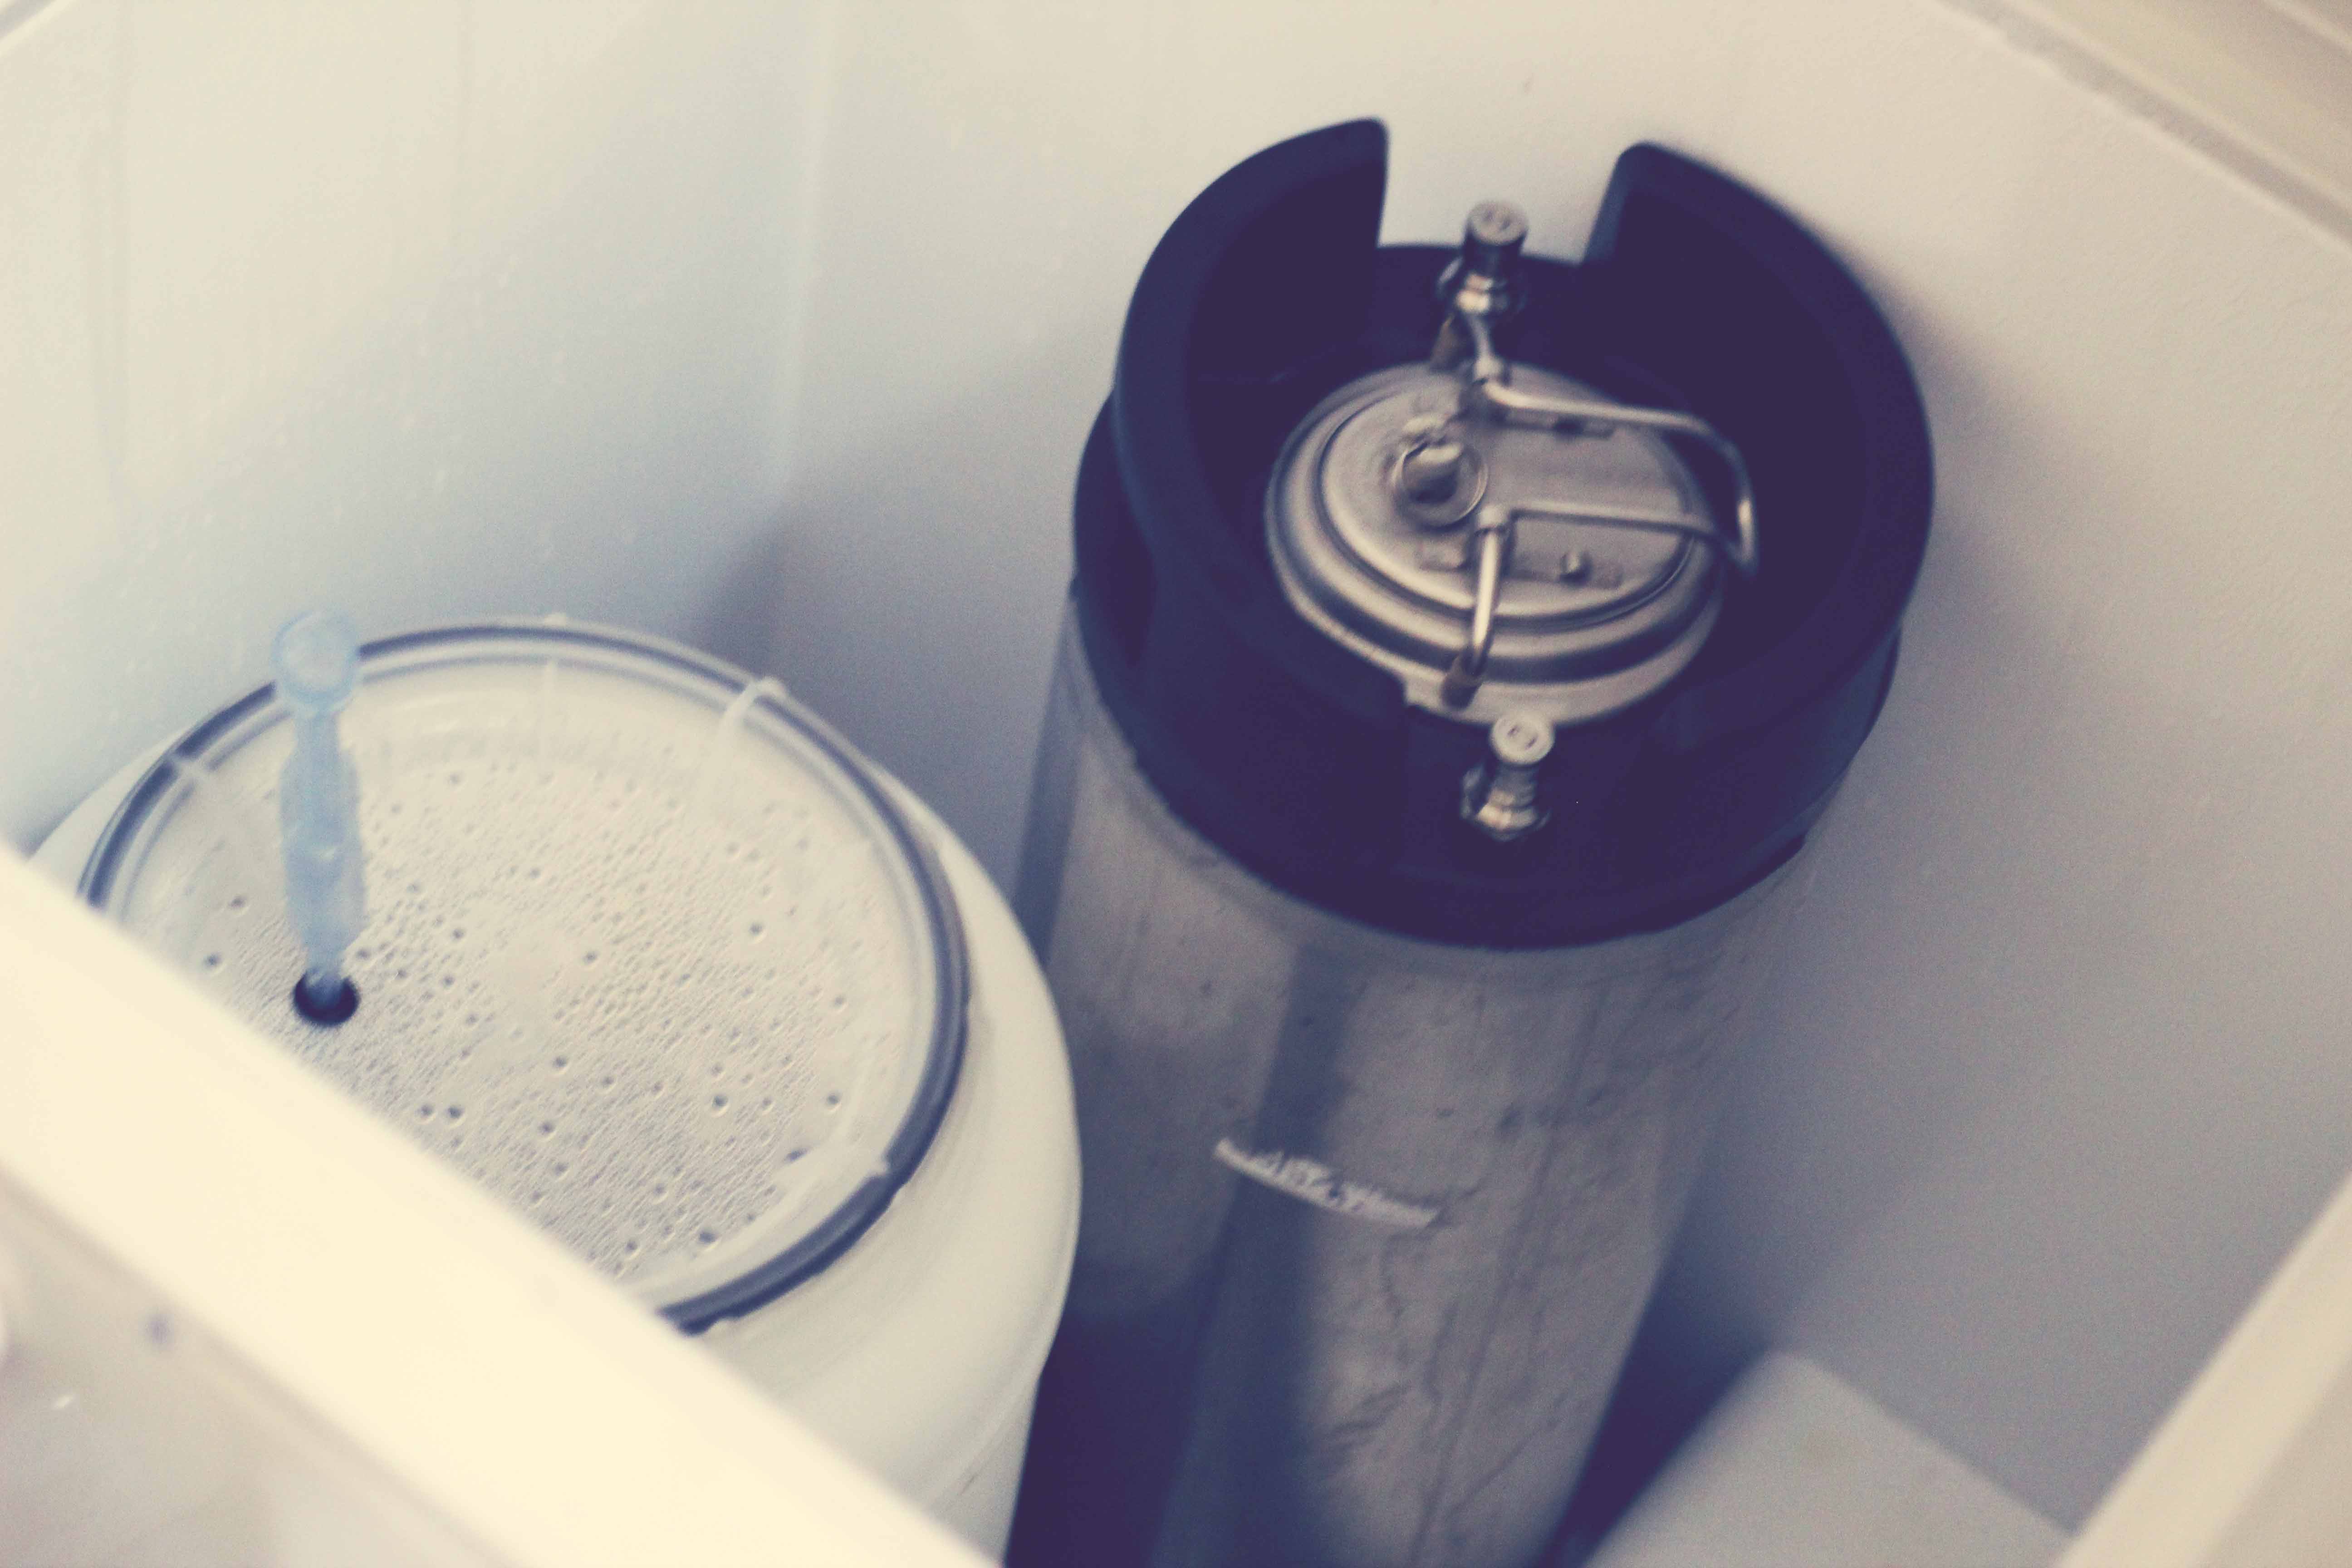
Kegerator
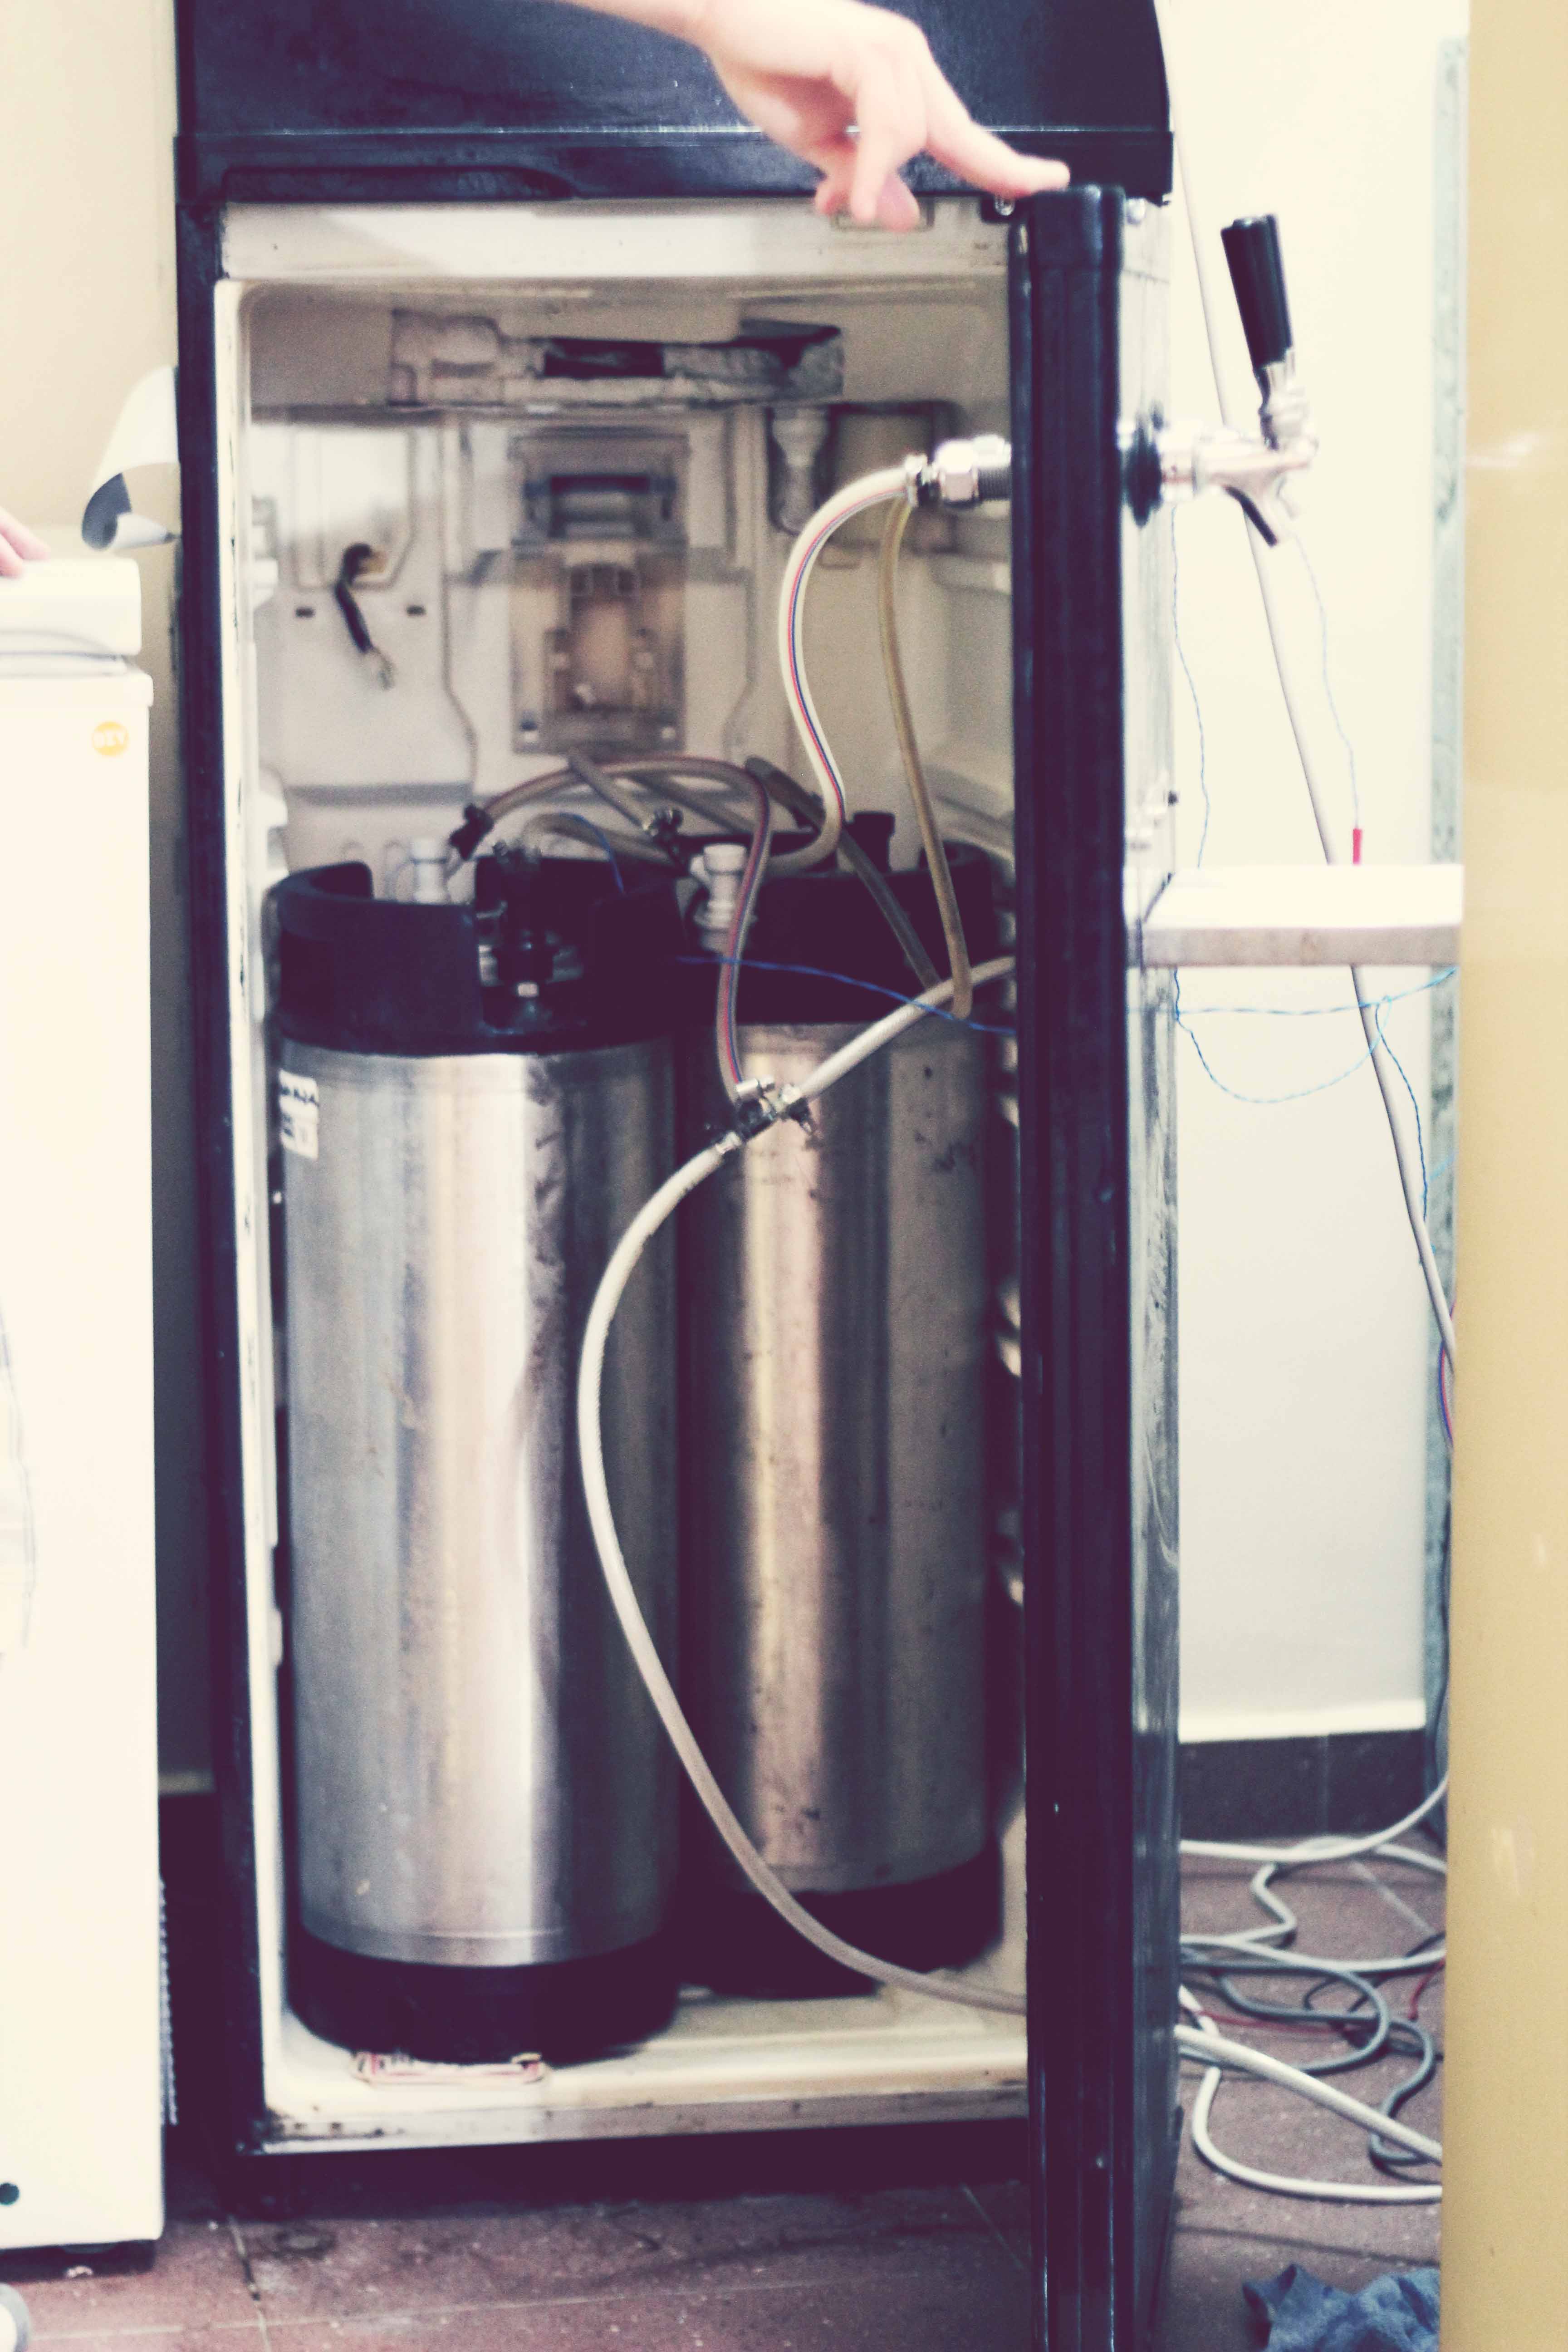
The Kegerator really is only the way to dispense your beer in style. As you might expect it is exactly what the name states a combination of a keg and a refrigerator. The beautiful combination with some pipe work, a CO2 bottle and a couple of taps means you can have 5°C beer on demand. This is very popular when friends come around as the love pouring their own beer. Plus it adds to the easy of storing your beer as most people use bottles and for 20L batch you end up needing 60 bottles. It takes around 2 hours to bottle 60 bottles of beer, which is a very tedious process. Whereas kegging only takes 30 minutes.
Software
To help with brewing their is one piece of software every brewer need and this is Brewtarget. The software allows you design your beers before you make them performing many tedious calculations for you. The best thing about it is that it is open source, free and multi-platform.
Our Brew software
Brewery 2.0
The previous brewery equipment has severed us well but it does have some bugs, now we have some more free time on our hand will are in the process of upgrading our hardware and software to be more robust, with few bugs. We will also be aiming to make our software multi platform and when we say multi platform we basically mean all major operating systems including mobile platforms. Watch this space for regular updates on the progress.
Grain mill
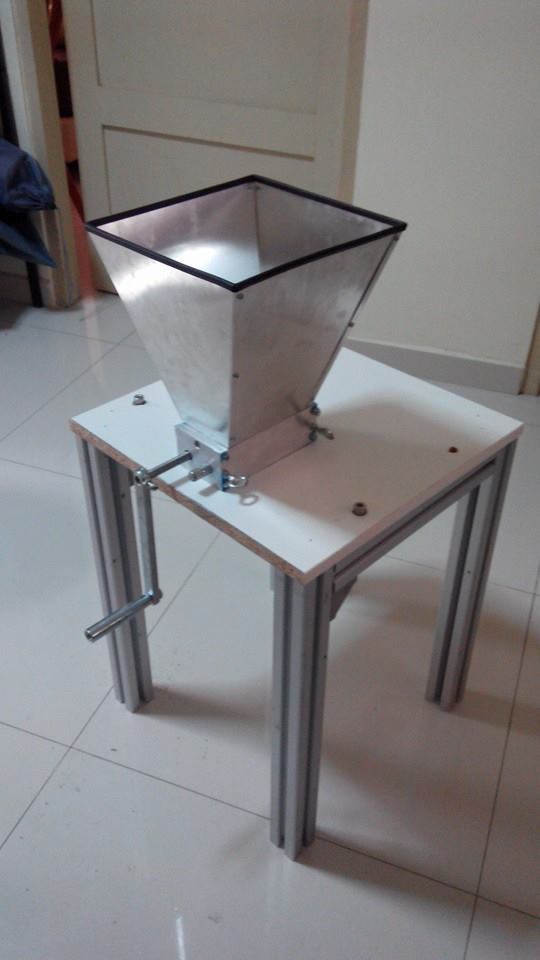
The grain mill is used to crack the barely husks so they can be used in the mash. Normally your homebrew store will crush grains for you, but the advantage of having your own means you can crush grain when ever. This allows you buy a bag of grain, which will last a few months if it has not been crushed and it is kept dry. Our grain mill came from Alliexpress for $100US, inc shipping. It is a Chinese copy of the barley crusher design, which is a two roller mill. We made a stand from some aluminium profile and cut out a rectangular whole in the board for the grain to drop through. A plastic bucket goes underneath to catch the grain. It is hard work turning the handle as 5Kg of grains can take 10 mins to crush. A drill can be used instead of manually turning it.
17 Comments
Interesting concept.
Looking forward to meet you guys at the geeksingapore camp!
Thumbs up for Nick & Nat! I’m from Malaysia and the beer price is crazy ! Will learn from y’all and start brewing myself. TQ soooooo much for sharing your knowledge and keep up the good work ! you guys are awesome !
Hey Meiji,
Thank you sooo much for the sweet comment! :) Let us know if you need any help starting the hobby!
Nat
Hey guys, great blog!
I just started homebrewing not too long ago and just wanted to know where’s a good place to buy kegs, it’s really expensive to buy them here!
Not really you can buy them cheap from china on aliexpress but the shipping to singapore makes them the same price as buying them here
You can buy second hand / reconditioned ones from Say Wee or Raymond. New ones cost a bomb. Reconditioned ones work just as well.
Yes I get reconditioned ones but they are still kind of expensive.
Awesome guys.
Did you build your own braumeister there ?
Yes we built something similar to a braumeister.
Looks great. Do you / how do you oxygenate your wort prior to yeast pitching ? You pitch dry yeast or liquid ?
Just stir it aggrsively with a spoon the splashing traps oxygen in the wort. I pitched dry yeast as it is easier
Hello Nick, wanted to learn and know more on building your similar system. Could request to email me how, where or when have any gathering or whatsoever to learn? Thank you so much.
Ok will do we are doing a brew together session in around two weeks you can come see the equipment then and I will explain how it is built.
Hi Mun, do also drop us your details here: https://docs.google.com/forms/d/1pFu5bMv7Jf3LzFkCA9rKK-QKJm9wkqRMRPEzolBoX-s/viewform.
Hi Nick, could I email you to inquire about the system? How to email you?Thanks for the blog. Nice set up.
Nick,
Good overview. You should do some demos on how to build the equip
Yes I am to put a build walk through of the equipment on the blog sometime in the future. When who knows